MGF Bonnet Release Cable Replacement
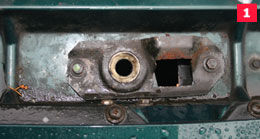
The front bonnet release on the MGF is operated via a handle located in the boot space behind the engine compartment. Placing the release handle inside the permanently locked boot provides a high degree of security but its location necessitates a rather a long cable run to reach the front fastening of the bonnet. After ten years exposure to salt and grime the front end of the release cable on my MGF was becoming very corroded and was prone to sticking in operation which made it difficult to open the front bonnet and worse still almost impossible to close it again. On one occasion I was obliged to attack the fastening from below in order to free the latch. Being unable to access the front compartment with battery, spare wheel, master cylinders and windscreen washers within, was not a viable proposition, so I felt that replacing the sticking cable was a matter of urgency.
Latch and slam panel
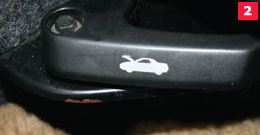
A slight tug on the boot mounted handle should release the bonnet
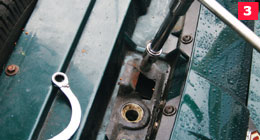
Undo latch assembly
The task was quite straightforward and required a 10mm spanner/socket and an 8mm spanner plus a pair of pliers and a length of welding wire.
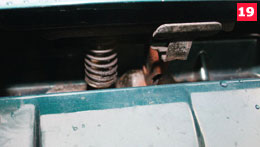
The hardest part of the process was detaching the front latch from the slam panel and gaining access to it in order to remove the old cable. To achieve this it was necessary to undo the bolts that hold it to the slam panel and then prise the latch assembly out between the slam panel and the boxed in radiator. To facilitate this it’s necessary to undo all the bolts that locate the slam panel and the bolts that hold the radiator top locating plates with their rubber inserts. Once it’s been released the radiator can be gently pulled back and the cable and the latch assembly pulled through the gap between the top of the radiator and the panel. It may be possible to accomplish this task from below but I was reluctant to attempt the process lying beneath the front of the car.
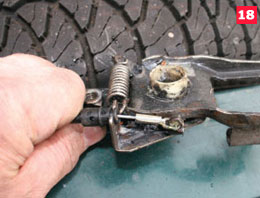
Once the latch is exposed the front end of the cable can be unclipped with the help of a pair of pliers. If the latch assembly is looking corroded and partly seized now is a good opportunity to give it a thorough wire brushing and then lubricate all the moving parts liberally.
With the end disconnected it is now a case of withdrawing the cable through the bodywork of the MGF. The cable is routed through the driver’s footwell and then along the side of the cockpit, up the rear of the door aperture and then through into the boot. There are various rubber grommets that ensure the cable is located and does not chafe against any sharp edges of the bodywork and these will have to be prised out as the cable is withdrawn. The replacement comes with all the new grommets required to fit it into place.
Lifting the carpet clear of the side of the cockpit reveals the cable route and the run of clips that are fitted to ensure it follows a set path, which it shares with the throttle cable and is clipped alongside. As you withdraw the cable make a mental note of the path it takes and the clips that hold it down. The only complex part of the operation is when the cable runs through a reinforcing box section on the side of the inner sill but withdrawal of the cable through this is easy enough.
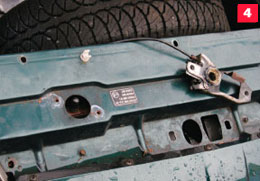
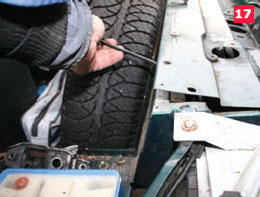
After undoing all bolts the radiator can be moved gently back and the cable and latch pulled carefully through for cable removal
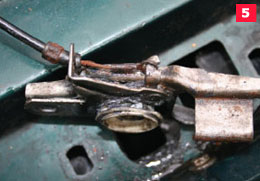
Severely corroded release cable
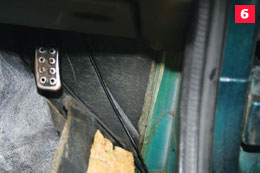
Cable runs down footwell
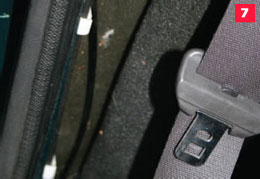
Cable is clipped into place and runs along the inside of the cockpit then up behind door shut and across the top of the rear shelf
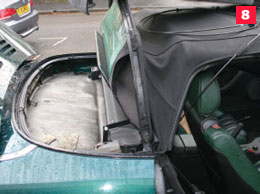
Unclip hood and remove carpet and sound deadening
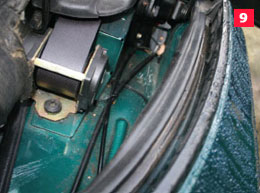
Cable runs back into boot compartment
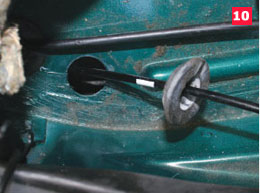
Grommets need to be removed to allow cable to be fed through
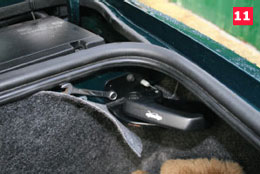
Undo the two nuts that locate the handle assembly
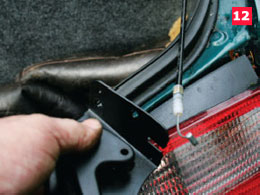
Remove old cable
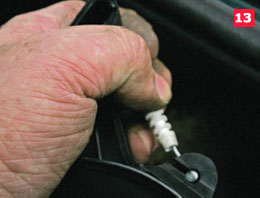
Insert new cable
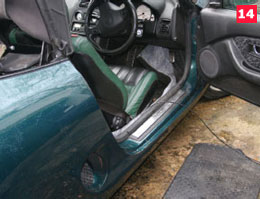
Threading new cable back along the inside of the cockpit
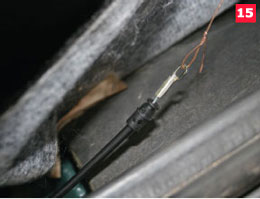
Using wire to guide cable through the inner sill box section
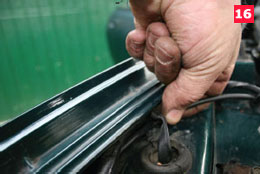
Once back in the bonnet area fit the cable into the location lugs
Pull cable through to ease attaching latch assembly
New cable clips easily onto latch
Aligning the latch before final tightening of bolts
The cable unclips from its guides behind the driver’s door. Now it’s a good plan to unclip the rear of the soft top and take out the carpet and sound deadening material. The cable can then be clearly seen and subsequently pulled through its rubber grommet back into the top of the engine compartment. The last hurdle is to detach it from the pull handle and this I did by unbolting the handle assembly by undoing the two 8mm locating nuts, then the old cable end can be slipped off and the new cable connected.
Now it’s a reversal of the removal procedure, taking time and care to locate and refit the grommets. The only slightly tricky part of this refit process is threading the cable back through the closed box section in the sill. There are round holes at either end and as you attempt to feed the cable through it tends to droop under its own weight and will not pass cleanly through the hole on the opposite end. To overcome this I took a length of thin wire (I used some cast off Mig welding wire) and fed that through from the other end, twisted it around the loop of the new release cable and then pulled it all through the box section. Now it only remained to get the cable across the footwell and up and poked through into front bonnet area via a hole at the top of the footwell. Once the cable is through the grommet has to be slipped back into place. Now the cable needs to be clipped into place inside the front boot and fed through the last hole into the space beneath the slam panel. The end of the new cable can then be attached and clipped onto the latch assembly and pushed back into the space beneath the slam panel. The latch has captive nuts and it is quite easy to re-attach it to the slam panel. Before tightening the latch bolts it will be necessary to lower the bonnet and align the latch with the locking pin, once they meet successfully the bolts can be fully tightened. Before shutting the bonnet have an assistant operate the lever to ensure it operates the latch effectively.
After months of being unable to open the bonnet by the cable without recourse to crawling under the car to bash the retaining clamp, to now have it spring open instantly is an absolute joy.
If your MGF is similarly afflicted with a sticking release cable, a new replacement is available from MGOC Spares, part no FSE 100311 price £14.75 inc VAT. Call them on 01954 230928