Needles, Seats and Fuel Pipes
Needles, Seats and Fuel Pipes
It is not unusual to find that your SU carburettors pour fuel out of the breather pipe. This can usually be attributed to the needle valve and seat that controls the flow of fuel into the float chamber. As the chamber fills with fuel the float is lifted up which, as it is in contact with the needle, lifts the needle as well. At a particular height of fuel the needle is forced into its seat thus stopping the flow into the float chamber.
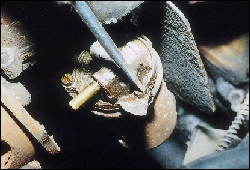 When either, dirt holds the seat and needle apart or wear in both components means they do not seal properly the flow will not be stopped. Therefore the level gets higher until the chamber cannot hold any more fuel and has to overflow. This is the flow of fuel you see coming out of breather pipe. Replacement is usually the only cure and is quite straight forward as detailed next.
 Location
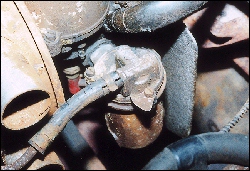
There are two main types of SU carburettor fitted to the MGB and Midget the HS type that has the float chamber to one side and the HIF, which has an integral float chamber. For this feature we will be carrying out the work on an HS type with the separate float chamber. If you have the HIF type then it will be necessary to remove the whole carburettor from the car for this operation.
 Removal / Replacement
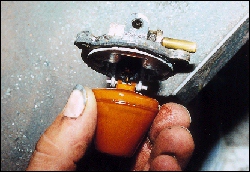
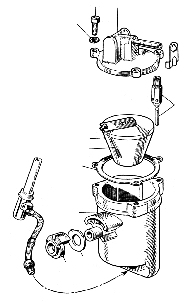
The HS type equipped cars have the float chambers to the side of the main body. Remove the battery earth lead to stop accidental start up of the fuel pump and disconnect the fuel inlet and breather pipes. The three screws that hold the float chamber top on can now be removed. Lift the top away carefully and you will see that the float comes away with the top. You will now be able to see the way in which it operates.
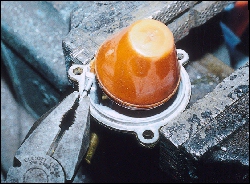
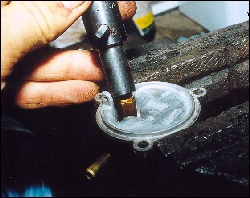 Turn the top upside down and gently place in a vice. Now, with a pair a pliers pull the float retaining pin out, lift the float away to reveal the needle and seat. Remove the needle valve and inspect it. You will probably see that the sealing end is no longer cone shaped but has a number of ridges in it, if so, this is the root of your problems. With either the correct tool or spanner remove the brass seat from the body top and replace with the new one.
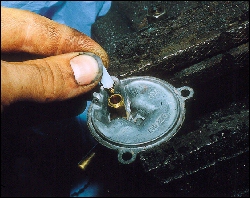 Checking that the inside of the seat and the outside of the needle are spotlessly clean, then pop the new needle valve into the seat. The float can now be replaced making sure that the retaining pin is properly pressed home.
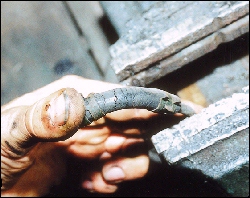
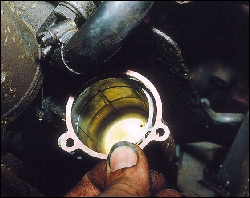 Turn you attention to the gasket that seals the top to the bottom of the float chamber. The needle and seat kits come with new gaskets so it is important to clean both mating surfaces off before screwing back together. With the gasket in place, carefully lower the top back on and secure with the three screws and reconnect the breather pipe. Be very careful to check all of the flexible fuel hoses as they can, over a period of time, become cracked. Because you have disturbed them they may now start to leak. If in any doubt replace the hoses.
 Repeat the same procedure on the other carburettor, reconnect the earth lead and turn the ignition on. While the pump is still ticking check that fuel is not coming out of the breather pipes. Keep checking that this is the case until the pump stops. If there is a leak the chances are there is some dirt on one of the seating surfaces so you will need to strip down and clean the new needle and seat. If there are no leaks then your car can now be enjoyed again without the threat of neat petrol swilling around the engine bay.
 If you have a set up with HIF carburettors the basics are the same. The only difference is that with the carburettor removed, turn it upside down and remove the four screws. The bottom can now be lifted away. Follow the same route as for the HS carburettor, the only difference is that to remove the float you must undo the screw that is positioned on the side of the body and acts as the float pivot. Remove this screw/pin and the float can be taken off.