Lowering the rubber bumper MGB
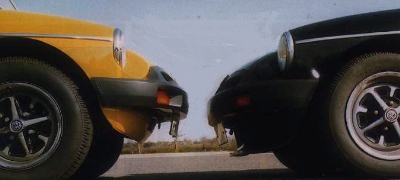
Comparison in ride height between a standard car and the lowered black roadster.
When the revised MGB was first launched in 1974 it featured many changes but most apparent was its new impact absorbing rubber bumpers and raised ride height. At the time cruel things were written in the motoring press and the handling of the new MGB was criticised. Not for the first time, the criticism was unfair, the extra weight of the bumpers in combination with the raised ride height made the car roll more on corners, but overall the handling remained quite good in comparison with its contemporaries.
Suspension rebuild
It was concern about a clonking from the front suspension that prompted my colleague Mike Beales to strip down the suspension of his 1976 black MGB roadster in order to check it out for wear and also take the opportunity of replacing the springs with those from a club lowering kit. The lowering kit consists of shorter front springs and reprofiled rear springs, plus all the necessary bolts and bushes. It was also decided to fit V8 front suspension bushes, and an anti-roll bar, as this model was not fitted with one from new. As the lowering kit reduces the ride height of the car, Mike also decided to fit 30% uprated shock absorbers to maximise the benefit of the lower ride height.
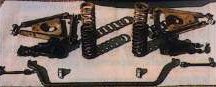 Kit of parts need to lower the front suspension. The original springs are shown in the background. The anti-roll bar needed drop links and mounting brackets. The standard shock absorbers were later swapped for 30%uprated units.
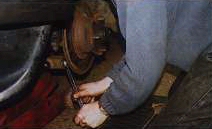
Jacking and Supporting the body
Jack up the front of the car and support the two main chassis rails on sturdy axle stands and remove the road wheels. This will give you access to the front suspension and enable you to work in safety. You will need to use the trolley jack to assist in dismantling the front suspension.
Dismantling the front suspension
The worst part of any front suspension overhaul is taking everything apart. All nuts and bolts are particularly prone to corrosion and become difficult to remove, especially the fulcrum links and the bottom wishbone bolt. Regular lubrication of the front suspension is often overlooked and king pin wear is a major source of MoT failure for MGBs. Before any unbolting is attempted, it is well worth taking the time to wire brush away all surface grim and rust and then spray all nuts and bolts with dismantling fluid.
The spring pan is supported by the trolley jack while the lower wishbone bolt is undone. After the bottom bolt has been removed, the jack can be lowered to release the tension in the spring. The spring can then be lifted out and the spring pan bolts undone.
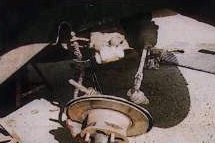 Once the spring pan and the king pin have been removed, support the brake calliper with wire or string to prevent stretching the brake hoses and damaging them.
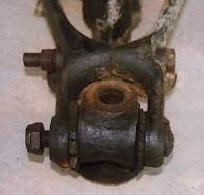 This top trunnion link was badly worn and had to be replaced.
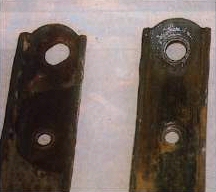 The wishbone arm on the right is suitable for reuse, but the one on the left had to be discarded because the bolt hole had become elongated with wear.
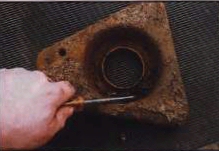 After the wishbone arms have been removed the spring pan may be cleaned and examined. Usually the small drain hole at the base has become blocked and allowed water and mud to build up causing the pan to corrode. Scrape away all surface rust and if in any doubt about the serviceability of the spring pan replace it. The one shown here was considered to be too badly weakened by rust to be safe for reuse.
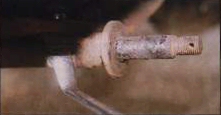 Surface corrosion on this wishbone pivot arm convinced us that it was sensible to replace it during the rebuild.
Fitting V8 suspension bushes
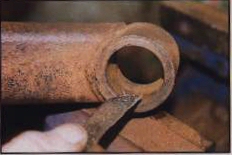 Thoroughly clean the inner surface of the bush housing at the end of the wishbone arm.
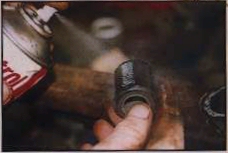 Spray the V8 bush and its housing with a liberal coating of DWT to help ease the bush into place.
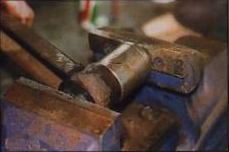 Clamp the wishbone arm and one piece V8 bush into a vice. Use a socket with a suitable diameter to apply an even pressure and then force the bush into place.
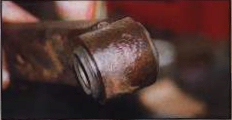 The V8 bush correctly fitted into the centre of the wishbone arm.
Fitting the lowered front spring
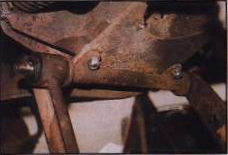 The wishbone pivot arm is bolted back onto the cross-member and the re-bushed wishbone arms are refitted.
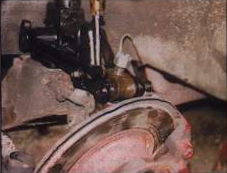 The kingpin assembly complete with new top trunnion is then fitted to the shock absorber arms. Now the fulcrum pin which passes through the top trunnion can take the weight of the kingpin and hub assembly.
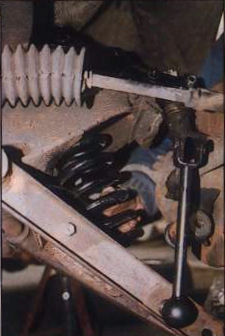 The lowered coil spring can then be inserted into place, take care to ensure that it is seating correctly in the spring pan.
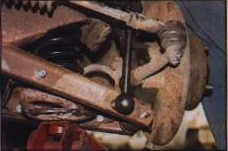 The spring pan is then jacked up until the lower wishbone arms and bottom of the kingpin or swivel link assembly line up and the lower wishbone bolt can be driven back into place through the wishbone arms and bottom of the swivel pin.
Fitting the anti-roll bar
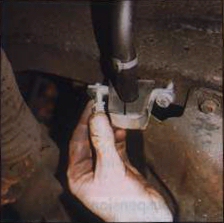 Mounting the anti-roll bar into its brackets.
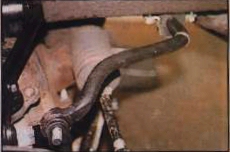 Fitting the end of the anti-roll bar to the drop link.
Once the front suspension has been installed do not fully tighten the nuts on the wishbone bushes but refit the wheels and lower the car to the ground. Then bounce the car vigorously up and down to settle the bushes. Once this has been done, jack it up again for the final tightening of all suspension nuts.
Fitting 30% uprated shock absorbers
It was at this point in the suspension rebuild that we felt it best to substitute a pair of 30% uprated front shock absorbers. We believed that the lowered suspension would be complemented by the firmer setting of the uprated units.
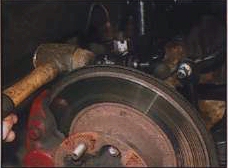 To fit uprated shock absorbers, support the wishbone pan by putting a trolley jack underneath to take up the the travel of the spring. Jack up the spring pan until it is possible to withdraw the top trunnion pin.
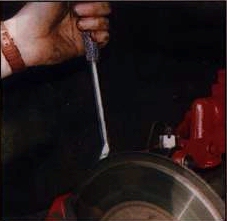 The new shock absorber can then be bolted into place, after that the top trunnion pin a can be refitted.
Lowered rear suspension
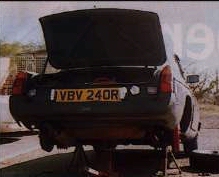 Jack up the car and support the rear of the body on axle stands. We positioned the stands just before the rear spring hangers.
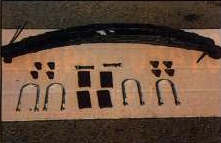 The rear suspension lowering kit consists of two re-profiled springs complete with all the necessary bushes, eye bolts, spring mounting rubbers and axle U-bolts.
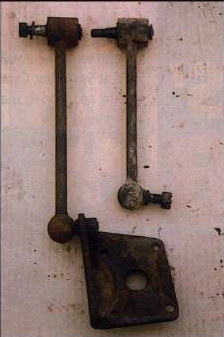 If you wish to retain lever arm type rear shock absorbers you will need to change the drop links and axle straps to the shorter chrome bumper MGB specification. If you decide to fit adjustable telescopic rear shock absorbers, then you will not need the drop links at all. The drop link on the right is from a chrome bumper car.
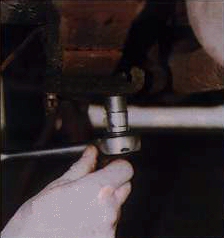 Undo all the the U-bolt nuts.
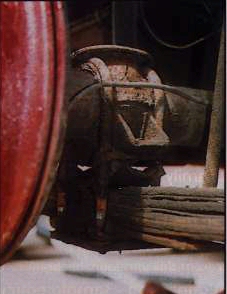 Remove the base plate and allow the spring to drop in the centre.
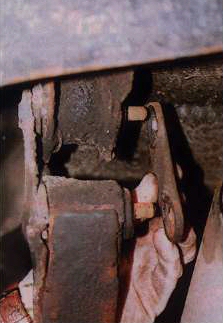 Undo the shackle nuts and remove the shackle side plates. Note which way round the shackles are fitted.
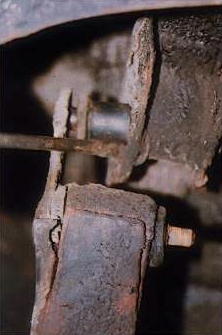 It may be necessary to lever out the shackle bushes.
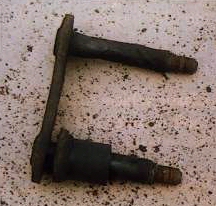 The top arm of this shackle was too corroded to use and so a new one was fitted.
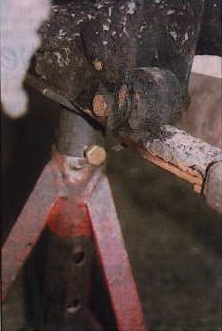 Once the rear shackle has been removed lower the spring and then unfasten the nut from the mounting bolt at the front leaf spring hanger.
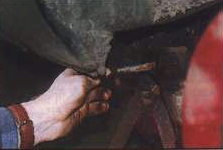 Drift the bolt from the bush at the front spring hanger and lower the spring to the ground.
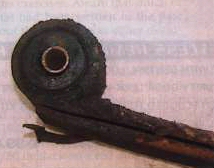 The wear in this spring bush is very apparent, allowing movement within the bush.
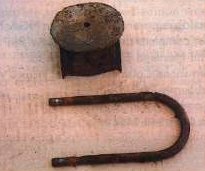 New U-bolts are included in the kit and saddles can often be reused, however this saddle was too badly corroded.
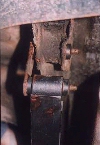 Refit the spring into the front hanger then attach the rear shackles. A new shackle in place complete with new bushes.
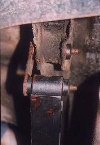 Use the jack to take the weight of the spring while refitting the saddle and U-bolts.
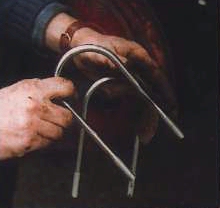
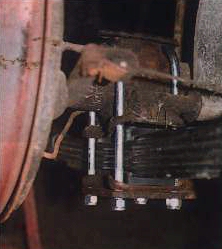 Fit the mounting rubbers and support the spring on the jack as the U-bolts are lined up with the bottom mounting plate. Tighten the U-bolt nuts and all the shackle bolts.
It is important to ensure that the base of the shackle points towards the back of the car.
Driving impressions
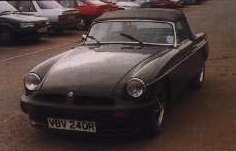 The kit has a dramatic effect on the feel and handling of the MGB, reducing its tendency to roll and sharpening up the steering response. The improvement in steering is the most noticeable feature, as it becomes much more positive and responsive. This is due in part to a slight negative camber effect which is a consequence of the shorter front coil springs. As the ride itself becomes considerably firmer the MGB takes on the personality of a competition prepared car. On poor road surfaces the ride is discernibly firmer, but this is not apparent on normal road surfaces where the car rides with all the traditional stability of a classic MG. In counterpoint the reduction in ride height means that more care has to be taken on extremely rough road conditions, especially when encountering steep ramps or sleeping policemen.
MEMBERS’ OFFER – CLUB LOWERING KIT
GREATER STABILITY, IMPROVED HANDLING
FOR RUBBER BUMPER MGB & GT MODELS
Rubber bumper MGB models, having a higher ride-height than the chrome bumpered model, are renowned for body-roll and inferior handling. Our lowering kit transforms the car and increases its stability on cornering, making it far more predictable and responsive – in all more fun to drive ! The kit comprises front and rear lowered springs and all fixings, together with photographic step-by-step fitting instructions. Available for either MGB or GT models at £109.95 plus £8.50 carrier delivery. To order telephone MG Owners’ Accessories on 01954 231318.