Fitting an MGB GT Rear Seat Cover
Fitting MGB GT Rear Seat Covers
Over many years of use, your GT will perhaps have had new front seats or at least seat covers but eventually the rear seat will also need attention or you may wish to re-cover it to match new front covers. The fitting of front seat covers has already been dealt with many times so we are now going to focus on the rear seat. The GT rear seat is often over-looked as it is rarely used as a seat but more as a load storage area, however it will, in time, have passed its best and start to spoil the look of the interior.
Stripping
Remove the rear seat base from the car by releasing the four lift-a-dot fasteners and lift out of the car. Now open up the tailgate, release the two catches on the seat back and allow it to fall forwards. Lift the wooden shelf that covers the spare wheel. You will see four Phillips screws that fasten the hinge to the member crossing between the wheel arches. With a stubby screw driver remove these four screws. Once the screws are out you are able, with the help of an assistant, to lift the seat back/wooden shelf assembly out of the car.
Now everything is easier to work on, remove the six screws that hold the wooden shelf to the seat back. Taking note of where, on the seat base, the front securing tabs with the lift-a-dot fasteners are positioned, remove all the small staples that hold the covers onto the base. I find it best to use a small bladed screwdriver to start them and then finish pulling out with a pair of pliers.
Once all the staples have been removed the cover can be slid off to reveal the back board and foam. Repeat in the same way for the seat back remembering not to discard the two bottom boards from the seat base and back or the sound proofing from the bottom of the seat base. You will also, unless fitting a new carpet set, need to keep the piece of carpet that is glued onto the back of the back seat.
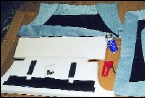
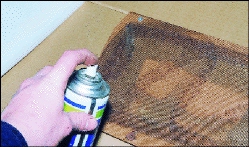
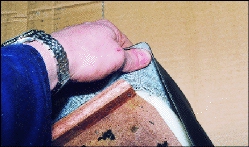
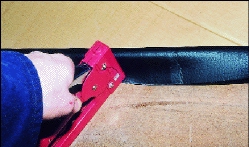
| What you need Having decided on the type of covers that you are going to fit, lay everything out in a clean area (a large piece of cardboard on the floor is always a favourite) to check you have everything you need (see photo 1). This includes new covers, spray glue, staple gun, staples, screwdrivers and a small hammer. Unless you know that the foams are in excellent condition always fit new foams. Fitting the covers to the seat back Fitting the covers to the seat base
|
1. Check that you have everything you need |
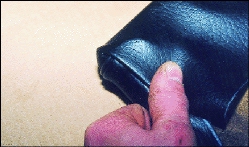

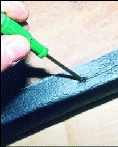
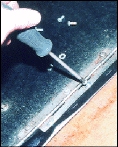
Fitting the lift-a-dot fasteners
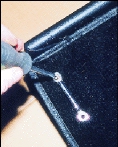
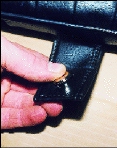
Replace the seat base into the car allowing the four fixing flaps to sit over each lift-a-dot post. Mark the centre of each post onto each flap and remove the base from the car. Press the female lift-a-dot firmly onto one of the flaps making sure the mark you made lines up with the centre hole (see photo 10). Remove the female part and you will see the indentations the four prongs have made. Very carefully make a very small slot at each indentation, press the female lift-a-dot part back onto the flap and watch the prongs go through the holes. Slide the backplate on and bend the prongs over to fasten all together. Carefully cut a small hole in the middle of the fastener to allow the post to slide into it. Repeat for the other three.
Back into the car
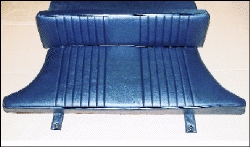
Now that you are happy with the finished result (see photo 11) you can screw the seat back/boot board back into the car. Make sure before fully tightening that you can move the boot board up and down without it catching on any other trim fixings. Fix the seat back into position with the catches and replace the seat base, securing with the four lift-a-dot fasteners.
Your rear seat is now ready for many more years of faithful service as a storage area come occasional seat.
Shopping List
GT rear seat covering kits are available to original specification in vinyl, also in velour or leather and to match Sports recliners and Club seats.
The MGB GT rear seat cover range is priced from £98.95 plus £6.25 postage and packing. While a full rear seat foam kit costs £17.95 plus £6.25 postage and packing. Carpet and Trim aerosol adhesive 400 ml £5.65.
For full details and specifications of all the seat covering kits available, telephone MGOC ACCESSORIES on 01954 231318.