MGA Twin Cam Rebuild (part 3)
A Twin Cam called Ratty Part 3
|
 |
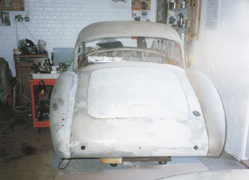
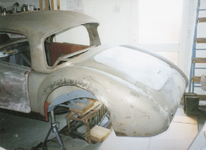
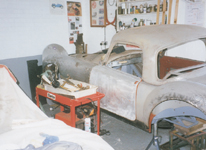
The report this month records the completion of the bodywork on ‘Ratty’ which is an important milestone in any rebuild, not to mention a significant boost to the restorer’s morale:
As I was sorting through the multitude of photographs taken during the restoration of the bodywork, I was reminded of a comment made at an MGOC event some years ago. At that time I had just finished restoring an MGC Roadster (XDA 601G) and it was on display in the show area. A photographic record of the work carried out was with the car and I was aware of a man studying the book in detail. He eventually came over and said,
“I have enjoyed looking at your restoration record but I can’t help noticing that as the car became newer and younger during the rebuild, its restorer looked older. What a pity you cannot renew yourself like your MG!”
He was I think politely referring to my hair which during the three years it had taken me to complete the car had started to turn grey. Perhaps the MGA will complete the process and turn the grey to white remembering the state of the car in the beginning and the difficulty I had obtaining original body panels.
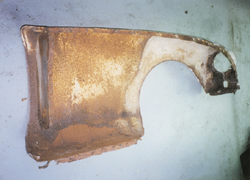
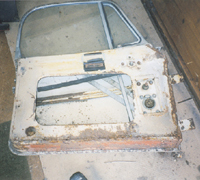
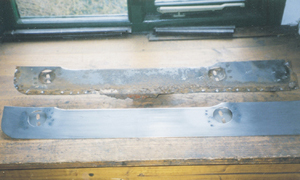
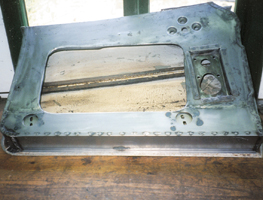
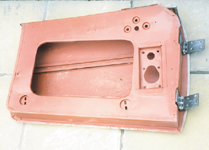
It is true that original panels for the MGA are rare but reproductions and repair sections are readily available. There are two drawbacks to using these however, one is the considerable cost and the other is that they can be very difficult to fit to a high standard. It is for these two reasons that I chose to repair and refit three of the original wings, both the doors, the front valance, the bonnet and the boot-lid from Ratty.
I was very fortunate to obtain one new/old stock original panel to replace the off-side rear wing which was by far the worst of the panels. The outer sills were also original factory parts and in the end reproduction panels were only needed for the radiator duct and the inner sills. Everything else required for the body was re-manufactured from sheet steel and I was surprised to find at the end of the body repairs that I had used almost seven square metres. The policy of reusing the original panels meant that a lot of hours were spent metalworking and welding which would have been expensive if I had been unable to do myself. On the plus side it took very little effort to fit the panels and achieve good alignment because the parts were all original.
 |
 |
 |
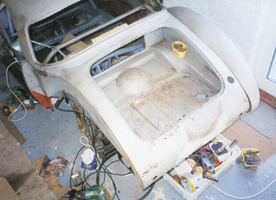
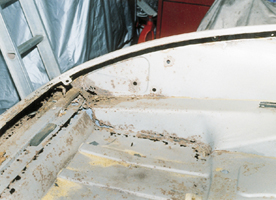
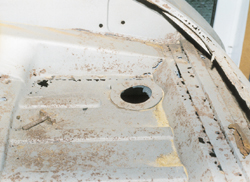
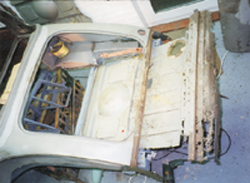
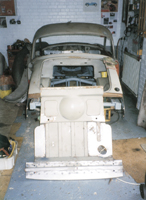
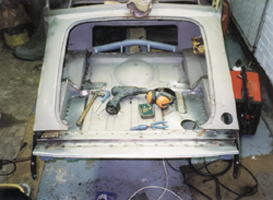
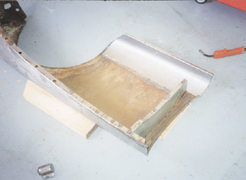
The boot floor was also extracted from Ratty, repaired as necessary and refitted to the ‘new’ body-shell. It was quite critical when salvaging panels like this from the original body, to minimise any further distortion and damage. Spot weld cutters made this work much easier and I favour the type marketed by Frosts for about eight pounds. They look a little like a normal twist drill but on closer inspection they have a flat cutting face with a small pip in the centre to guide the cutting action. I found that by cutting through the weld on the underside of the boot floor it was possible to remove the panel complete without causing any drilling damage. Now it only needed local repairs before transferring it to the new shell as shown in the photographs. The same process was adopted for the boot side panels and the result was a boot with an original appearance and no unsightly joins where repairs had been made.
 |
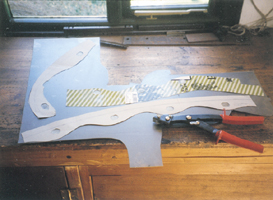 |
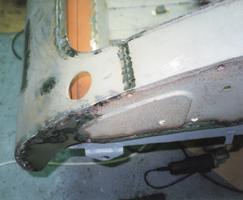
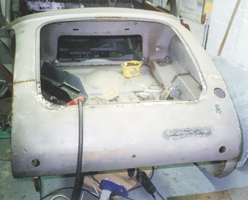
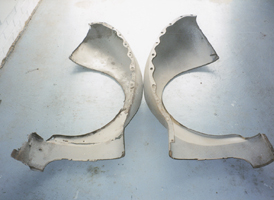
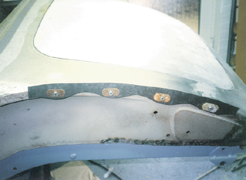
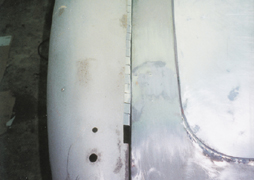
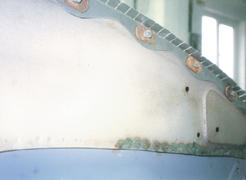
On the replacement body shell there was evidence of a rear end collision which had distorted the rear valance. Ratty’s valance was in better condition so I made the decision to transfer it with some of the shroud by cutting both shells halfway up the boot aperture. This drastic step also made it easier to change the boot floor panels. Here was another good example of the interchangeability of bodywork made by the factory and no difficulties were experienced in carrying out the work. Before the rear valance and shroud could be finally welded it was vital to fit the rear wings to ensure correct alignment of the whole rear end. The offside rear wing was new and therefore straightforward to fit but the near-side wing needed major repairs before fitting was possible. All the wings on the MGA are bolted-on through flanges to the shroud but the nearside wing’s flange was missing or weakened in places by rust. It was necessary to replace it along its entire length in sections as shown in the photographs. I therefore made templates in cardboard which I stuck to sheet metal before cutting them out with a hand nibbler. The photographs show this process at stages along the flange. It was important to work in discreet stages to ensure the wing stayed in alignment with the adjacent shroud. The same technique was adopted when fitting the front wings which also needed significant repairs to the lower section.
 |
 |
 |
 |
 |
 |
Now at last with the bodywork completed I can turn my attention to the next stage of the rebuild – Spraying! I have always sprayed the cars I have rebuilt in my own garage using in the early days a crude airless spray gun. This had the advantage of being able to put a lot of paint on the car but it lacked directional control. It also directed paint over my sons bikes, the freezer, the walls and anything else in the line of fire. Apart from over spray the worst problem with spraying in a confined space, like a garage, is the fumes from cellulose thinners. Too much exposure can make you feel very light-headed, not unlike the feeling when you have had too much to drink. I always knew when I had stayed in the garage too long because I would attempt to put articles down on a bench that was two feet away.
 |
 |
 |
On one occasion a friend called in to check on my progress when I was spraying. He only stayed in the garage for a few minutes before needing several strong coffees before he was able to walk home. These days I have a spray mask with an activated charcoal filter which reduces the effect of the fumes to an acceptable and safe limit. The airless spray gun has been replaced with a modern compressed air unit which means nowadays only the car gets sprayed, but more about that in Part 4.
 |
 |
 |