MGF Boot Water Leak
Mention water leaks and MGF in the same sentence and most will immediately think head gasket failure, but the fact is that the cars often suffer from rain water leaking into the car.
Finding the source of some water leaks is easy, such as seeing the tell tale drips and water stains down the inside door panels originating from the door mirror areas, others though can be a devil of a job to find.
Ever since I bought my current MGF I suffered from a damp patch in the boot following rain and so I employed a pair of towels operating on a shift basis. The annoying thing was that there was no tell tale water stain or wet tracks to point to the entry point and since we have suffered so many continuous periods of rain, followed by more rain, time was called on this particular leak.
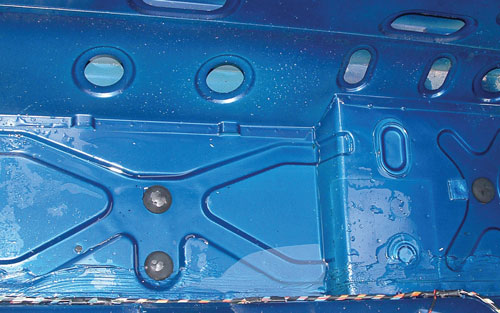
1 Boot carpet removed, note water in boot
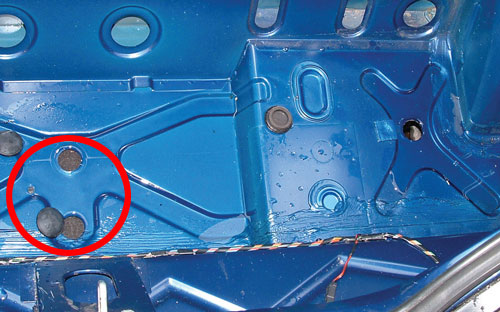
2 Lowest drain holes rubber bungs removed to drain water
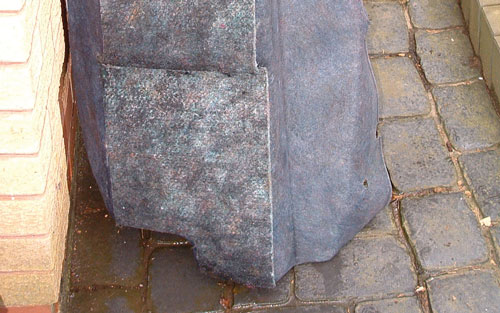
3 Boot carpet hung for several days to fully dry
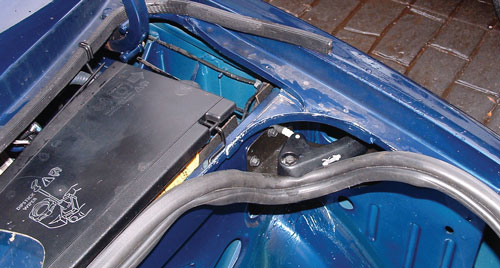
4 Boot seals displaced to locate leak point
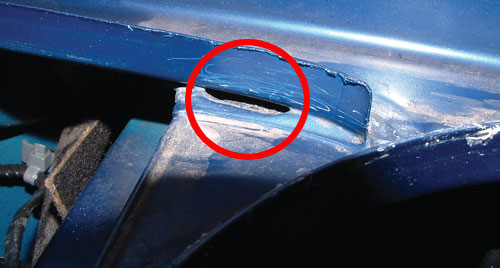
5 Close up of missing seam sealer
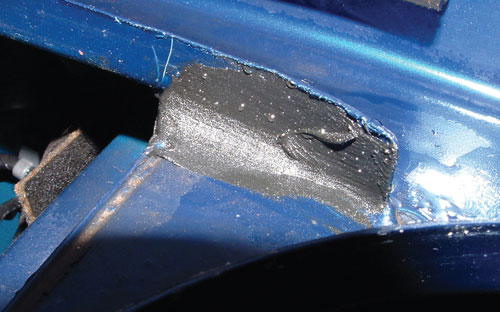
6 Simple smear of fresh seal sealer once area dried
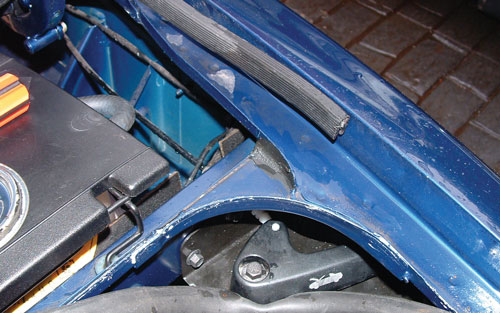
7 Ready for seals to be replaced and no need for painting in this area
With no obvious point of entry when all the trim is in place, from the boot lid for example, it follows that the next logical step is to remove the trim. If this was a leak behind the fascia, then this strip down would be a major problem, but in the case of the MGF boot it’s a simple matter to remove the moulded carpet to reveal the metal structure underneath. Once removed and because the carpet is moulded, not to the perfect shape of the boot aperture, there was a space under the centre and lowest section. Here was the perfect environment for a few fish with standing water but fortunately there are several rubber bungs that cover drain holes so the waters exit was swift!
Once the excess water was removed the remnants were mopped up so that when the process of locating the source of the leak started any fresh drops of water can be easily identified. This process followed a logical approach of using a garden hose and spray nozzle to replicate rainfall onto the rear of the car (with boot closed of course). After a few seconds, then pausing and checking inside for fresh water ingress, a couple of fresh dribbles were apparent in the right front corner. The position of the water indicated it was somehow coming in from the wing channel, so by gentle trickling water into the channel the area was narrowed down to above the bonnet release lever.
After the channel trims were removed close examination located a small section between the panel join where seam sealer was missing. Pouring water directly at this section confirmed this as being the source of the leak so now all that is needed was to dry the area before sealing it. This was simply done by using some more seam sealant, a compound that sticks very well but doesn’t fully harden and always remains flexible. It can also be painted over, but in this case it was not needed. Six months on and the towels remain dry on standby, and I doubt they will be called into service again.
The images help illuminate this small but annoying problem and solution, but remember that the missing seam sealer issue is often the cause of other leaks, although often not as easy to locate and see.