Modern MG – Delaminating MG badge
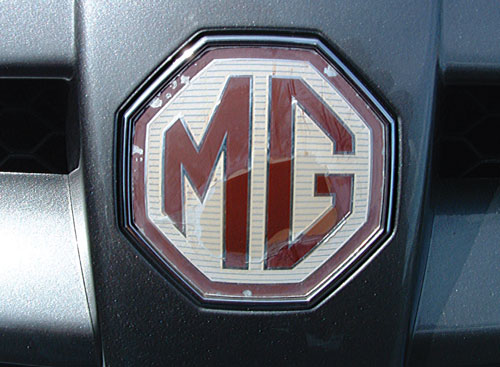
The MG TF and Z ranges have much to commend them, but some aspects have caused problems for owners, often these are simple issues. Delaminating MG badges is a favourite sore point for many owners of these cars. This is not a new problem that has only recently arrived, but one that really raised its head not long after the Z range of cars arrived and whilst not having any detrimental effect on the reliability of the cars, it is an eyesore to see the proud MG badge looking so sad. It could be said to reflect the state of the company that made the cars but it always devalues the car to which it is attached.
I had to replace the front badge on my previous ZS 180 within 18 months from new, which was early 2003 when the delamination started to show. Recently, I have had to replace the badges on both my ZT 260 at just over three years of age and mid thirty thousand miles, but also on my wife’s ZR 120 which needed a new front badge after only two and a half years and just ten thousand miles. Changing the badge is actually quite straight forward, although you have to take great care not to damage the paint. This avoids the need to remove the bumper/grille to access the rear of the badge to use the plastic pegs on the rear of the badge to push it forward out of the recess in the grille area.
The images tell the story, but in essence cloth tape is laid next to the edge of the badge to provide a buffer to reduce the possibility of damage when levering the badge. I placed four sections of tape as seen to provide options for the levering, although in the end I only used one.
Delaminating MG badge
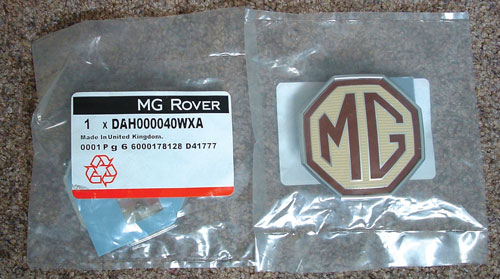
New front MG badge for Z range
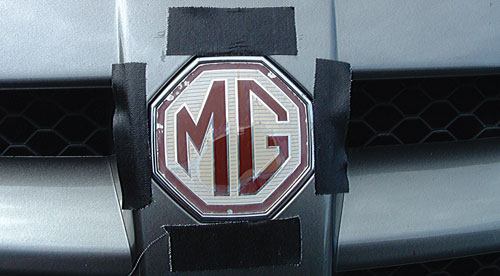
Protective tape in place
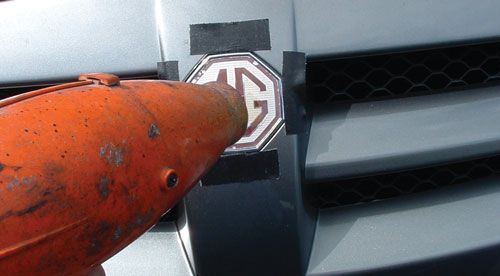
Warm up the badge with an ‘old’ hair dryer to soften the adhesive
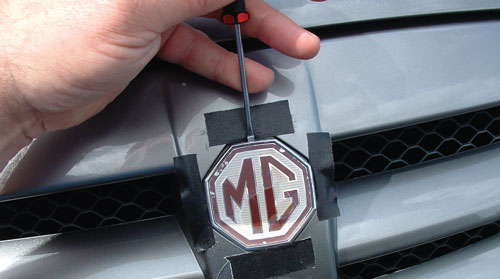
With great care use a probe to lift the heated badge. Try not to lever against the delicate painted surface of the grille
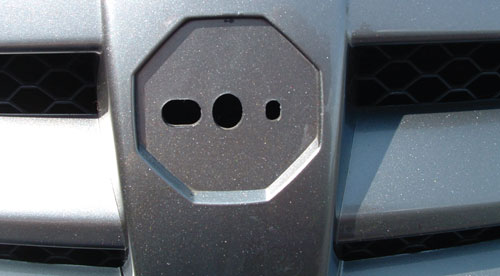
Thoroughly clean the recess ready for new badge
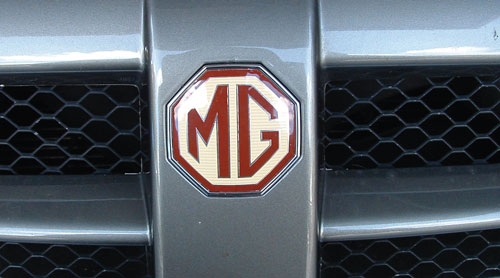
New badge slipped into position after being warmed up to assist adhesion and now looking far better
Firstly, find an old hair dryer (I say old as domestic bliss could be forever shattered if you raid the lady of the house’s hair care products) and this is used to heat the badge up for a good five minutes. Hair dryers are designed to be safe against hair and skin and so this falls in nicely for not damaging paint. However, you still have to take care to be sure that you only heat up the badge.
Once the badge has been thoroughly heated and you’ve allowed a sufficient period to for the heat to soak through the plastic to the adhesive pad that holds it in place on the grille moulding it is time to use a thin probe. I used the screwdriver shown, to gently insert between the edge of the badge and the recess it sits in, and then to pull at the badge down and away. I say pull down and away rather than lever against the painted surface, even though it is protected with tape, as when the adhesive gets warm enough the badge will start to detach with only this pressure. Once started it is useful to aim the hot airflow behind the badge to ease the lifting process until the badge simply falls away.
Usually the heated adhesive pad comes away clean leaving little or nothing to clean up before the new badge is fitted, but it follows that the area has to be spotless if the new badge is to stick properly. Sticking the new badge is simple enough, but I do suggest that the hair dryer is used to gently warm the adhesive pad and the recessed area of the grille as this aids a good contact. The alignment is obviously important but the long plastic peg that passes through the grille provides a very good steady to get it right first time. Then look forward to doing the same again in three years time!
Roger Parker